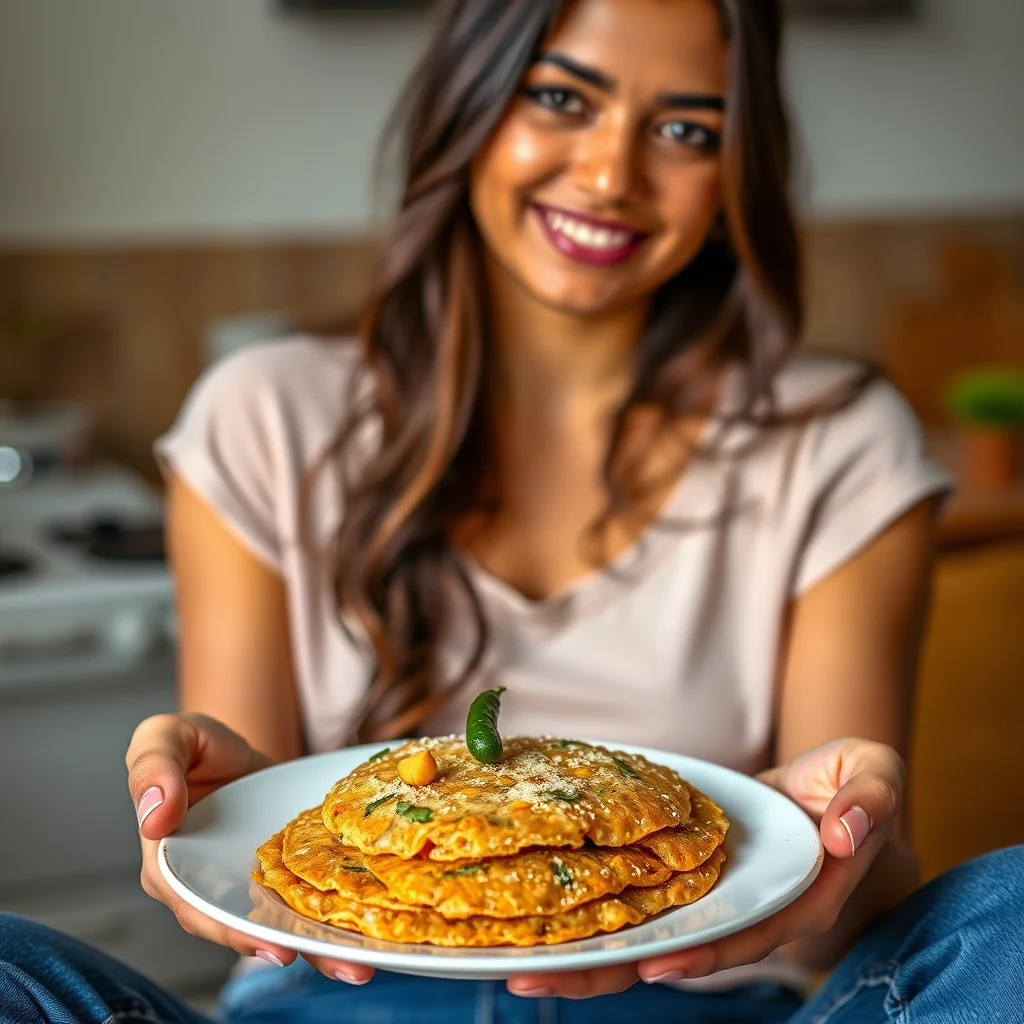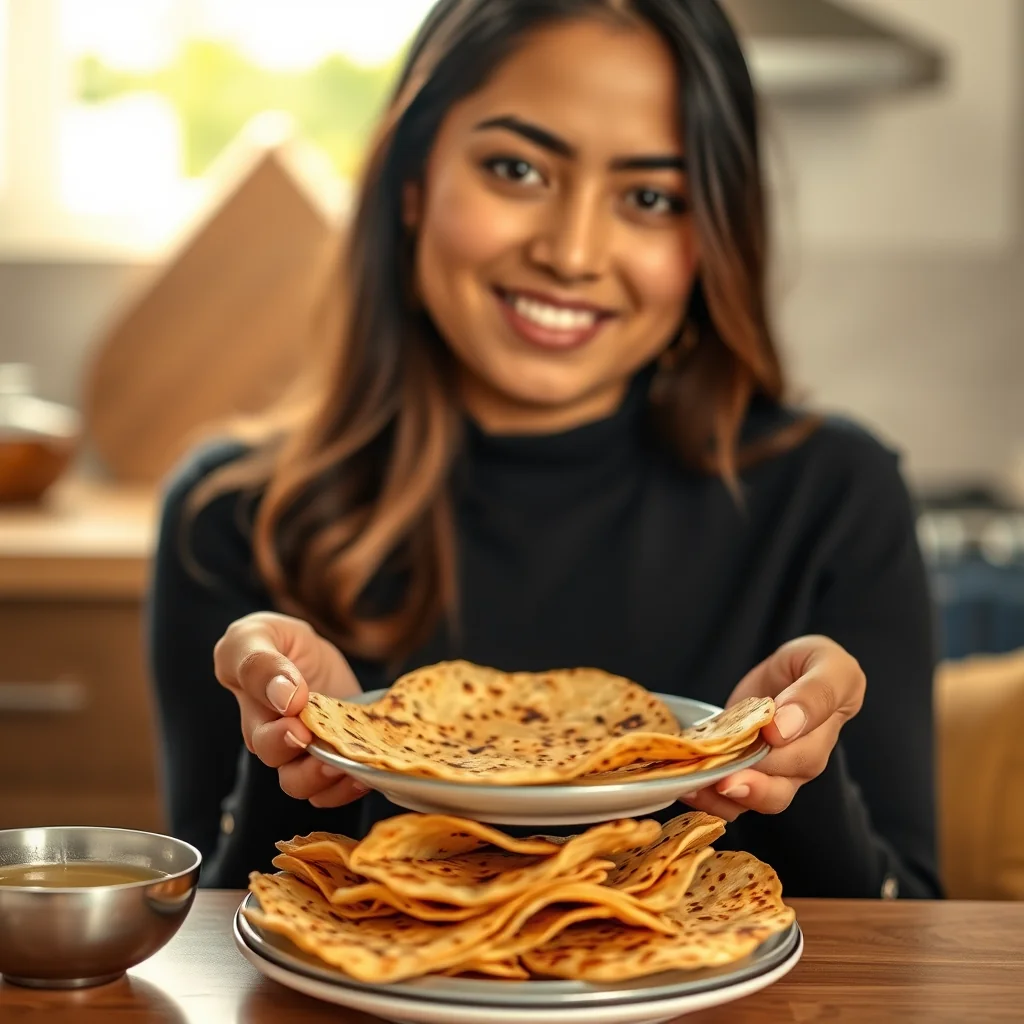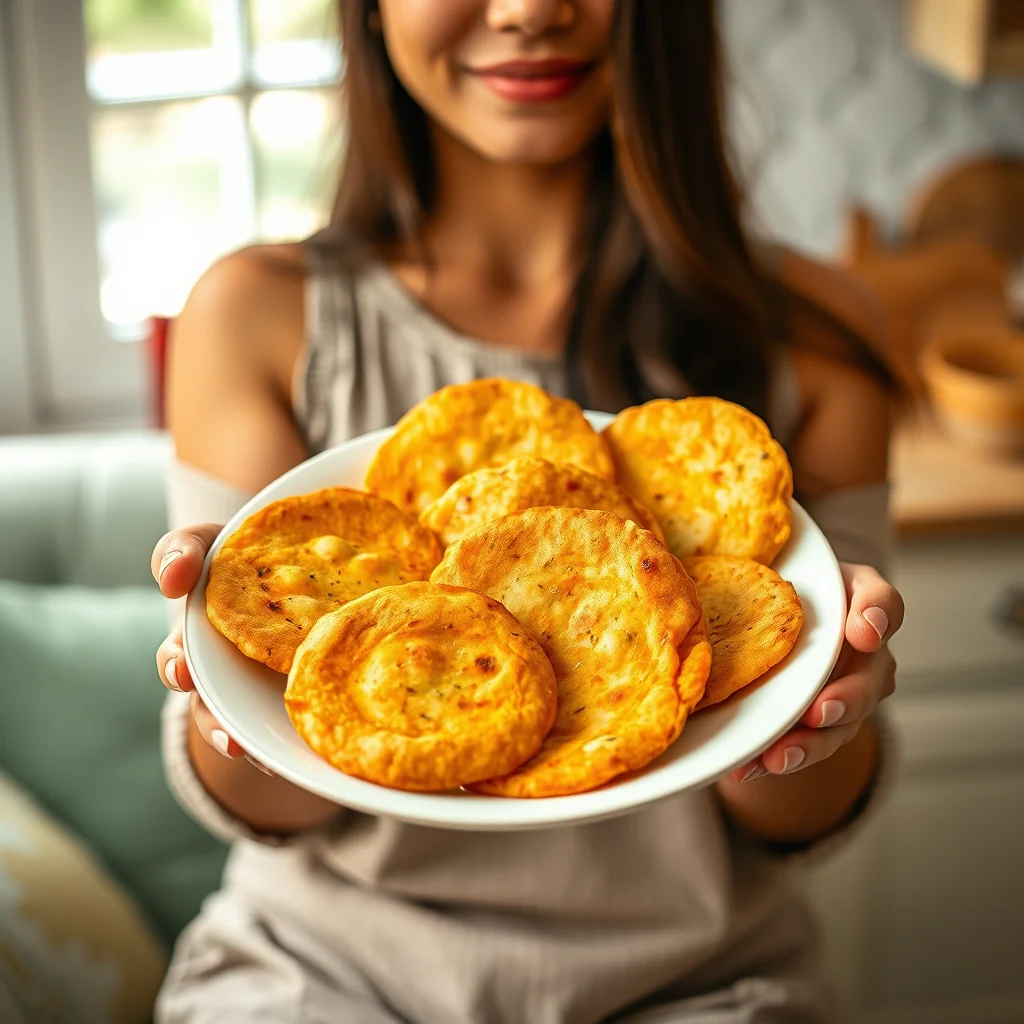
Malabar paratha — the flaky South Indian bread of breakfast dreams — is all about layers: a soft, buttery dough rolled whisper-thin, coiled, rested, and cooked until it shatters into a hundred leaves. It takes an afternoon, and most of that is waiting. One gentle clap at the end and the layers bloom.
Behold the Malabar Paratha, the undisputed star of South Indian breads! Imagine a bread that’s a paradox of textures: impossibly flaky, wonderfully crispy, yet unbelievably soft and fluffy all at once. Each beautifully coiled paratha, flecked with golden-brown spots, invites you to peel it apart, layer by glorious layer, ready to be dunked into a rich, creamy curry. Creating these masterpieces is a rewarding journey, so set aside a relaxed afternoon. You’ll need about an hour of hands-on time, plus a total of 1 hour and 20 minutes for the dough to rest and work its magic. The final 30 minutes of cooking will fill your kitchen with an irresistible aroma!
Ingredients
• Makes 10 parathas (serves 5)
• 3¼ cups / 390g (13.8 oz) all-purpose flour
• 1¼ teaspoons / 7g (0.25 oz) salt
• ¾ cup / 180ml warm water
• ½ cup plus 2 tablespoons / 141g (5 oz) unsalted butter, melted and divided
• Canola oil, for greasing
Instructions
1. In a large bowl, whisk together the all-purpose flour and salt. Pour in 6 tablespoons (90 ml / 3 fl oz) of the melted butter and mix with your fingertips until the flour resembles coarse breadcrumbs.
2. Gradually add the warm water, mixing as you go, until a soft, slightly sticky dough forms.
3. Turn the dough out onto a lightly floured surface and knead for 5-7 minutes until it becomes smooth and elastic. Place the dough in a lightly oiled bowl, cover with plastic wrap, and let it rest in a warm spot for 1 hour.
4. After the first rest, divide the dough into 10 equal-sized balls. Place them on an oiled baking sheet, cover with a clean tea towel, and let them rest for another 20 minutes.
5. Lightly oil your work surface and rolling pin. Take one dough ball and roll it out as thinly as possible into a large circle, about 7-8 inches in diameter. Brush the entire surface generously with some of the remaining melted butter.
6. Tightly roll the buttered circle into a long, thin ‘cigar’. Then, take one end and coil it inwards to form a tight spiral, tucking the end underneath. It should resemble a snail shell. Place the coil back on the baking sheet and repeat with the remaining dough balls.
7. Gently flatten one of the coiled dough balls with your palm. Roll it out into a 6-7 inch circle, being careful not to press too hard to preserve the layers. Place on a piece of wax paper and repeat with the rest, stacking them with wax paper in between.
8. Heat a non-stick frying pan or tawa over medium heat. Brush both sides of a paratha with melted butter and place it on the hot pan.
9. Cook for about 2-3 minutes, flipping halfway through, until both sides are golden brown and flecked with charred spots.
10. Remove the paratha from the pan. While it’s still hot, gently scrunch or ‘clap’ it between your hands to fluff it up and separate the layers. Place in a foil-lined container to keep warm while you cook the rest.
Nutritional Information
• Per paratha (approximate)
• Calories: 244 kcal
• Carbohydrates: 30g
• Protein: 4g
• Fat: 12g
Pro Tips
• for Perfect Parathas
• Don’t skip the resting times. Allowing the dough to rest is crucial for developing gluten, which makes the parathas soft, pliable, and easy to roll.
• Be generous with the fat. Using a good amount of butter or ghee when brushing the dough is the secret to creating those distinct, flaky layers.
• Master the ‘clap’. Gently scrunching the hot paratha from the sides is a non-negotiable step. This is what separates the layers and gives it that signature fluffy texture.
• Keep the dough soft. The initial dough should be soft and slightly sticky. A stiff dough will result in hard, dense parathas instead of light and airy ones.
FAQ
Q: Can I make this Malabar Paratha vegan
A: Yes, you can easily make this recipe vegan. Simply substitute the unsalted butter with a high-quality vegan butter block or a neutral-flavored vegetable oil like canola or sunflower oil. Ensure you use it for both the dough and for brushing the layers to achieve the same flakiness.
Q: What vegetarian curries pair well with Malabar Paratha
A: Malabar Paratha is incredibly versatile and pairs beautifully with a variety of rich, creamy vegetarian curries. Excellent choices include Vegetable Korma, Paneer Butter Masala, Chana Masala, or a South Indian Kadala Curry (black chickpea curry) for an authentic pairing.
Q: How do I store and reheat leftover parathas
A: Store completely cooled parathas in an airtight container or a zip-top bag in the refrigerator for up to 3 days. To reheat, warm them on a hot tawa or non-stick pan for about 30-60 seconds per side until soft and heated through. You can also freeze them by stacking with wax paper in between and storing in a freezer bag for up to a month.
Q: Can I use whole wheat flour instead of all-purpose flour
A: While you can substitute some of the all-purpose flour with whole wheat flour (a 50/50 ratio is a good start), using 100% whole wheat will result in a denser, less flaky paratha. The classic light and layered texture is best achieved with all-purpose flour as specified in the recipe.
More Recipes You’ll Love
- Chewy Chocolate Sandwich Biscuits with Crunchy Cereal Filling
- Supreme Pizza Crackers
- Layered Black Bean Tortilla Bake
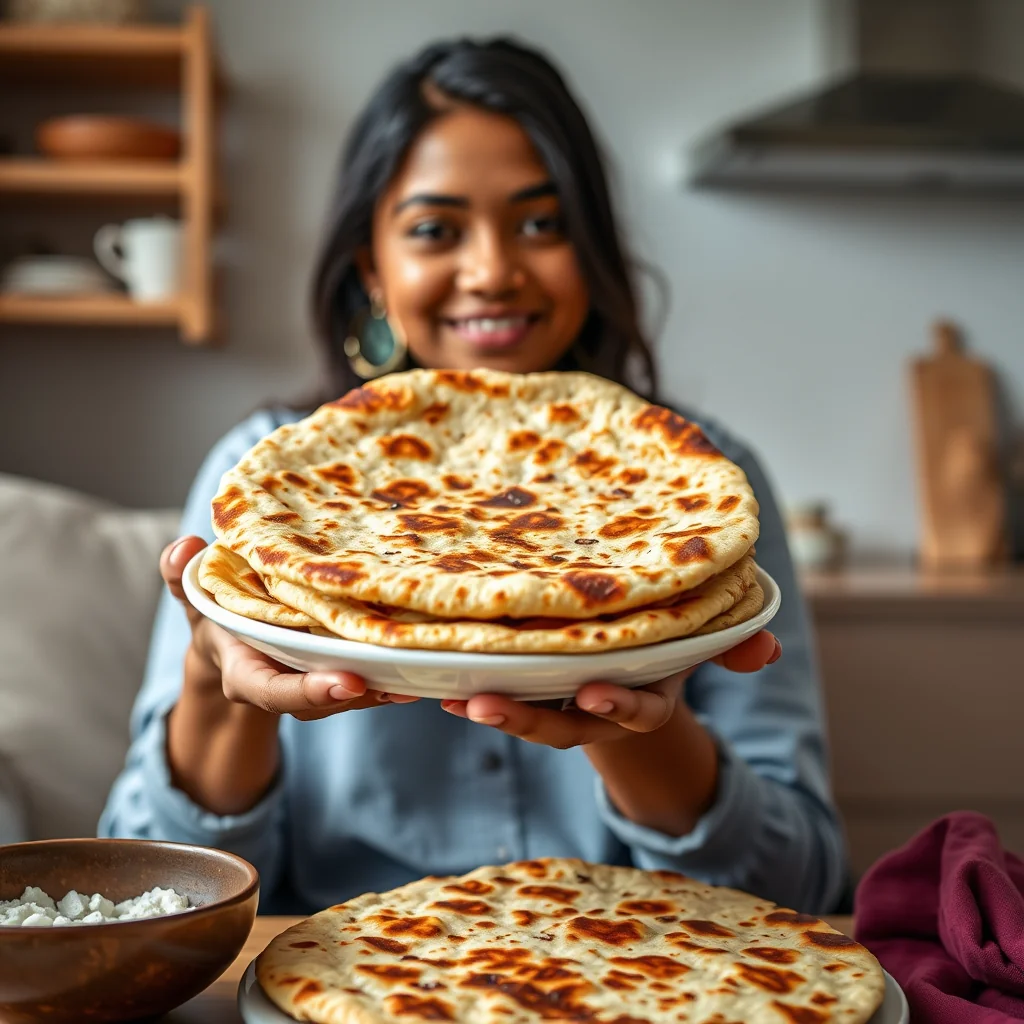
Malabar Paratha (Flaky South Indian Bread)
Ingredients
Method
- In a large bowl, whisk together the all-purpose flour and salt.
- Pour in 6 tablespoons (90 ml / 3 fl oz) of the melted butter and mix with your fingertips until the flour resembles coarse breadcrumbs.
- Gradually add the warm water, mixing as you go, until a soft, slightly sticky dough forms.
- Turn the dough out onto a lightly floured surface and knead for 5-7 minutes until it becomes smooth and elastic.
- Place the dough in a lightly oiled bowl, cover with plastic wrap, and let it rest in a warm spot for 1 hour.
- After the first rest, divide the dough into 10 equal-sized balls.
- Place them on an oiled baking sheet, cover with a clean tea towel, and let them rest for another 20 minutes.
- Lightly oil your work surface and rolling pin. Take one dough ball and roll it out as thinly as possible into a large circle, about 7-8 inches in diameter.
- Brush the entire surface generously with some of the remaining melted butter.
- Tightly roll the buttered circle into a long, thin 'cigar'.
- Then, take one end and coil it inwards to form a tight spiral, tucking the end underneath. It should resemble a snail shell.
- Place the coil back on the baking sheet and repeat with the remaining dough balls.
- Gently flatten one of the coiled dough balls with your palm.
- Roll it out into a 6-7 inch circle, being careful not to press too hard to preserve the layers.
- Place on a piece of wax paper and repeat with the rest, stacking them with wax paper in between.
- Heat a non-stick frying pan or tawa over medium heat.
- Brush both sides of a paratha with melted butter and place it on the hot pan.
- Cook for about 2-3 minutes, flipping halfway through, until both sides are golden brown and flecked with charred spots.
- Remove the paratha from the pan.
- While it's still hot, gently scrunch or 'clap' it between your hands to fluff it up and separate the layers.
- Place in a foil-lined container to keep warm while you cook the rest.
- Don't skip the resting times. Allowing the dough to rest is crucial for developing gluten, which makes the parathas soft, pliable, and easy to roll.
- Keep the dough soft. The initial dough should be soft and slightly sticky. A stiff dough will result in hard, dense parathas instead of light and airy ones.