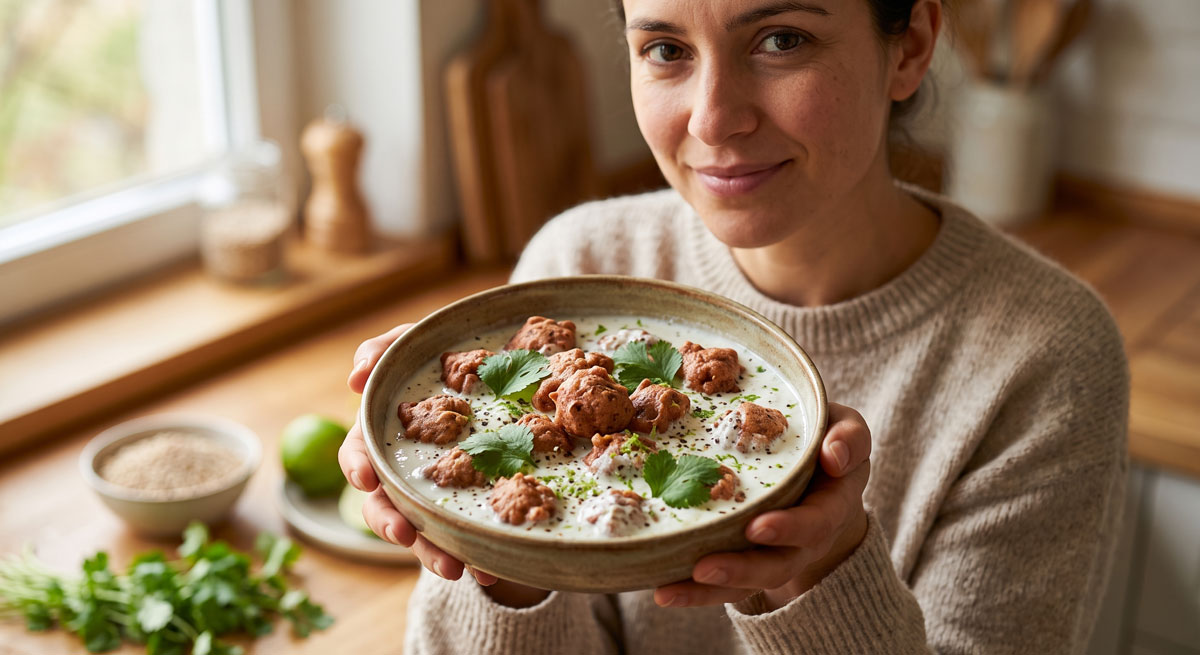
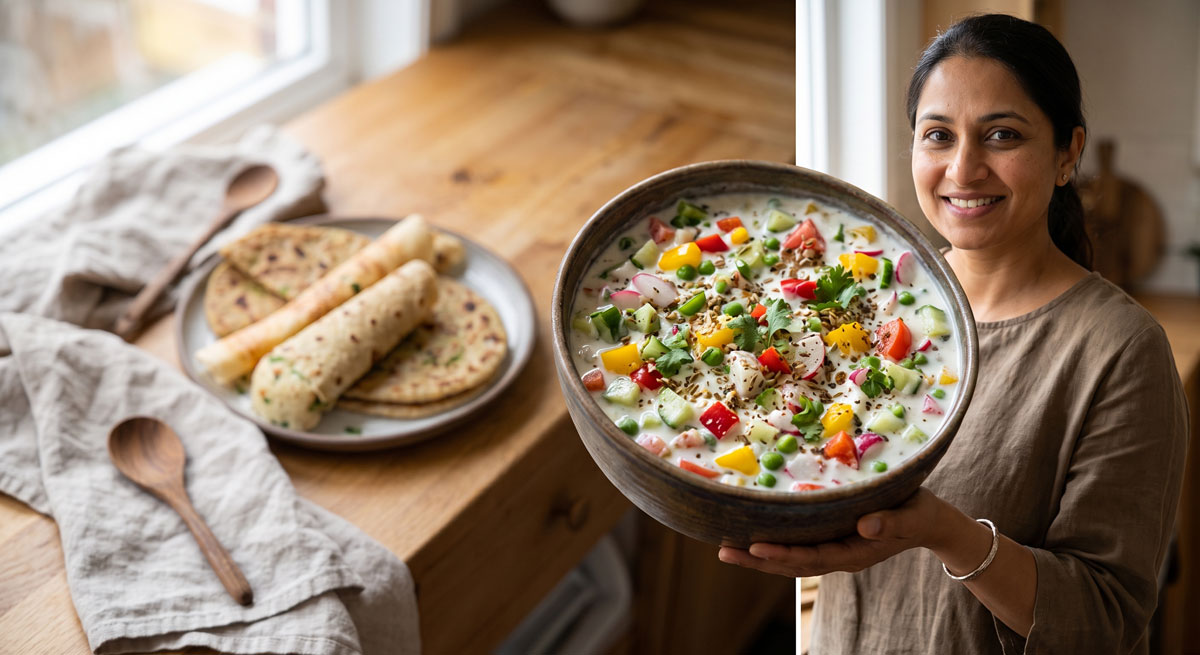
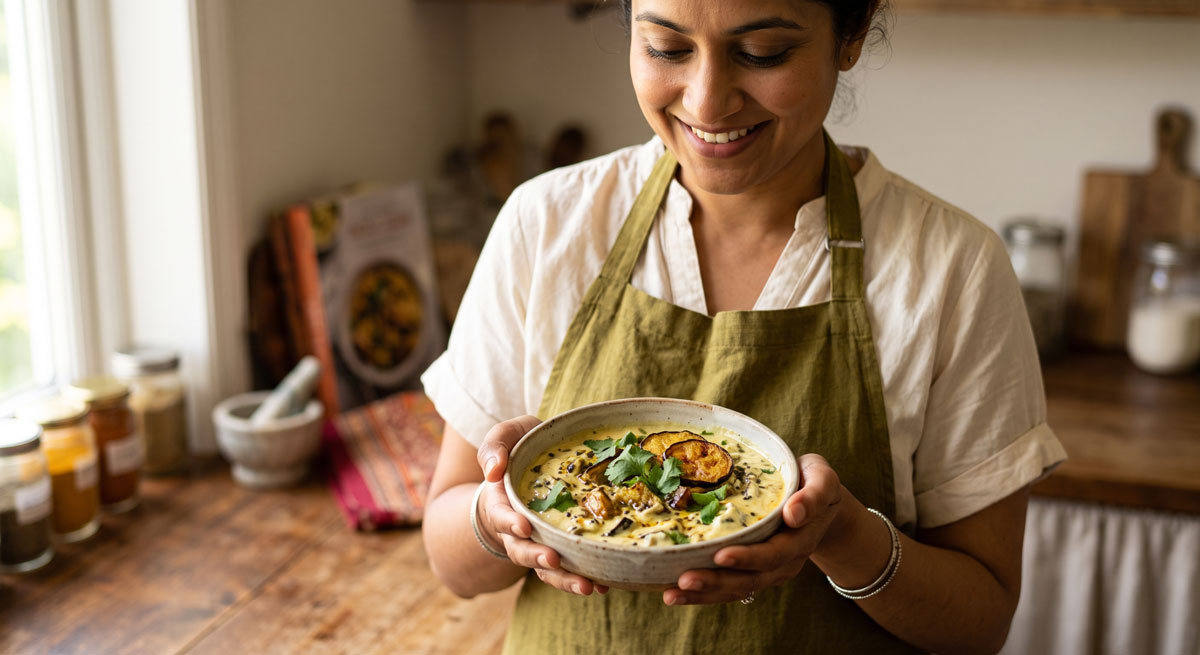
Unlock the secret to next-level vegetarian cooking with homemade Punjabi Urad Dal Badi! These aren’t just ingredients; they’re little sun-dried powerhouses of flavor, packed with toasted spices and fiery chilies. Made from a simple urad dal paste, these traditional lentil cakes are a game-changer for your pantry. A few fried pieces can transform a simple vegetable curry or a humble dal into a dish bursting with savory depth, heat, and a delightful crunch. A little truly goes a long way, so get ready to discover your new favorite flavor booster!
Ingredients
• For the Dal Paste
• 1¼ cups / 260 g split and skinned urad dal
• Water, for soaking and grinding
• For the Spice Mix
• 2 tbsp / 30 ml coriander seeds
• 1½ tbsp / 22 ml cumin seeds
• 1½ tsp / 7 ml fennel seeds
• ½ tbsp / 7 ml cracked black pepper
• 1½ tbsp / 22 ml crushed red chilies, adjust to taste
• ½ tsp / 2 ml yellow asafetida powder (hing)
• 1½ tsp / 7 ml salt
• Scant ½ tsp / 2 ml baking soda
• Optional
• Up to 4 tbsp / 35 g urad dal flour, as needed for thickening
• Note on Asafetida (Hing): The amount specified is for milder compound asafetida. If using a potent, pure asafetida, reduce the amount to about ⅛ tsp.
Instructions
1. Soak the Dal: Rinse the urad dal thoroughly. Place it in a large bowl, cover with at least 1½ inches of water, and let it soak for 8 hours or overnight. Drain the dal completely in a fine-mesh strainer.
2. Toast and Grind Spices: In a dry skillet over medium-low heat, toast the coriander, cumin, and fennel seeds until fragrant. Let them cool completely, then coarsely crush them using a spice grinder or mortar and pestle.
3. Grind the Dal: Using a food processor or high-speed blender, grind the soaked and drained dal into a thick, smooth, and airy paste. Use as little water as possible (start with 2-3 teaspoons and add more only if necessary), scraping down the sides frequently to ensure an even grind.
4. Combine and Rest Batter: Transfer the dal paste to a large mixing bowl. Add the crushed toasted spices, cracked black pepper, crushed red chilies, asafetida, salt, and baking soda. Mix gently but thoroughly. If the batter is too loose to hold its shape, stir in optional urad dal flour, one tablespoon at a time. Cover the bowl and let the batter rest in a warm place for 4 hours.
5. Shape the Badis: Lightly grease a few baking sheets. Divide the rested batter into approximately 24 equal portions. Roll each portion into a smooth ball and gently press your thumb into the center to create a hollow indentation without piercing through.
6. Dry the Badis: Place the shaped badis on the prepared trays, leaving space between them. Dry using one of these methods until they are completely hard and brittle
7. Sun-Drying: Place trays in direct sunlight for 2-4 days, covering with a net to protect them. Bring indoors at night.
8. Dehydrator: Dry at 125°F / 52°C for 12-24 hours.
9. Oven: Bake at your oven’s lowest temperature (around 170°F / 75°C) for 6-10 hours with the door slightly ajar, flipping halfway through.
10. Store and Use: Once completely cool and dry, store the badis in an airtight container at room temperature for several months. To use, crack a badi into small pieces and shallow-fry in oil until reddish-brown before adding to your dish.
Nutritional Information
• (Per badi, approximate)
• Calories: 35 kcal
• Protein: 2 g
• Carbohydrates: 5 g
• Fiber: 1.5 g
• Sodium: 90 mg
Pro Tips
• for Perfect Badi
• Use minimal water when grinding the dal. The goal is a thick, airy paste that holds its shape. Too much water will make the badis difficult to form.
• For the fluffiest batter, beat the ground dal paste with a stand mixer (or by hand) for 5-7 minutes until it’s significantly lighter in color and texture.
• Ensure the badis are completely bone-dry before storing. Any residual moisture can lead to mold. They should snap cleanly when broken.
• When adding badis to a curry, always fry the pieces in oil until reddish-brown first. This crucial step awakens their aroma and adds a fantastic crunchy texture.
FAQ
Q: Are Punjabi urad dal badi a good source of plant-based protein
A: Yes, absolutely! The main ingredient is urad dal, a lentil that is naturally rich in plant-based protein and fiber. Each badi adds a significant protein boost to your vegetarian meals, making them more satisfying and nutritious.
Q: How do I make this urad dal badi recipe gluten-free
A: This recipe is almost entirely gluten-free. The only ingredient to check is the asafetida (hing), as it is often compounded with wheat flour. To ensure your badis are 100% gluten-free, simply use a certified gluten-free asafetida, which is typically mixed with rice flour instead.
Q: How long can I store these homemade badis for my vegetarian pantry
A: When completely dried until they are hard and brittle, these badis become an excellent long-lasting pantry staple. Stored in an airtight container in a cool, dry place, they will keep well for several months, ready to add instant flavor and protein to your vegetarian cooking.
Q: What are the best vegetarian dishes to use urad dal badi in
A: These badis are incredibly versatile for vegetarian cooking. They are famously used in ‘Aloo Badi’ (potato and badi curry). You can also add fried pieces to any simple dal, vegetable stir-fry, pulao, or vegetable curry (like those made with bottle gourd, peas, or spinach) to add a delicious crunch, savory depth, and a spicy kick.