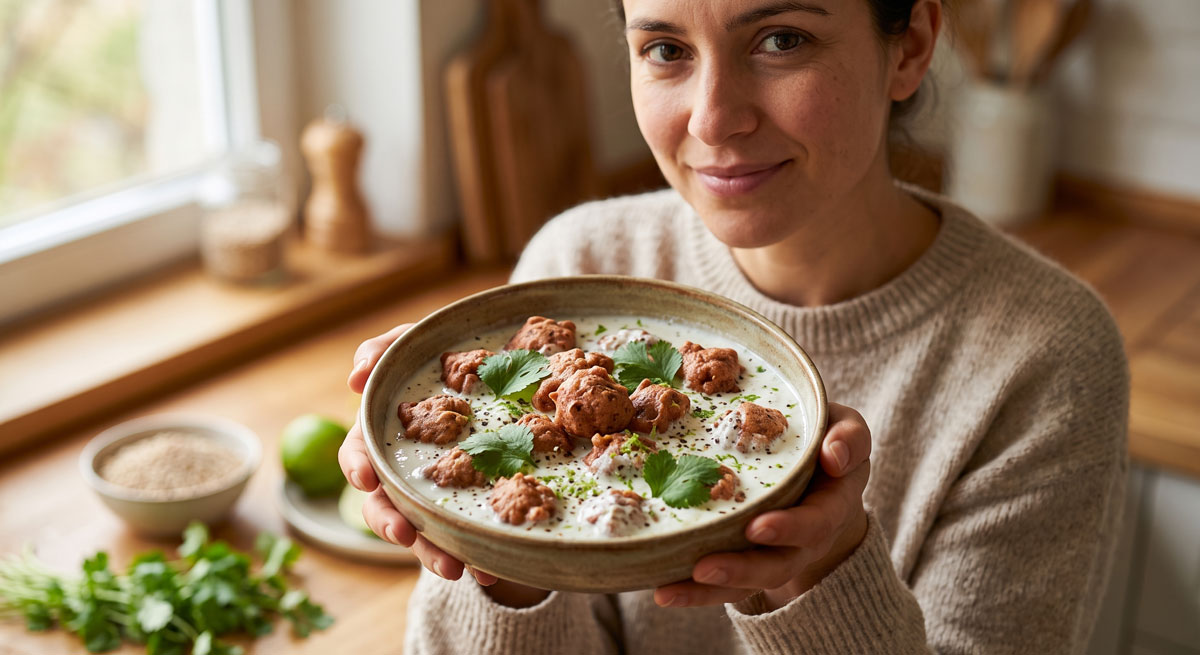
Unlock a secret of the traditional Indian pantry with these incredible Moong Dal Badi! These aren’t just ingredients; they’re little nuggets of concentrated flavor and texture. Made from a simple, spiced yellow lentil paste and dried under the sun, they transform into savory, crunchy morsels that elevate any dish they grace. When added to a simmering curry, they soften beautifully while lending a unique, hearty bite and a fantastic boost of plant-based protein. This small-batch recipe is the perfect introduction to the age-old art of making badi. Once you’ve tried them, you’ll want a jar in your kitchen at all times!
Ingredients
• 1.5 cups / 325g split and skinned moong dal (yellow lentils)
• 1.5 tsp / 7g salt
• 2 tbsp / 30ml green chilies, finely minced
• ¼ tsp / 1ml baking soda
• 1 tbsp / 15ml neutral vegetable oil, plus more for greasing
• Up to ¼ cup / 35g moong bean flour or all-purpose flour, optional
• Water, for soaking and grinding
Instructions
1. Soak the Dal: Pick through the moong dal for any debris, then rinse thoroughly. Place the dal in a large bowl and cover with at least 2 inches of water. Let it soak for 8 hours or overnight. Once soaked, drain the dal completely in a fine-mesh strainer and do not rinse it again.
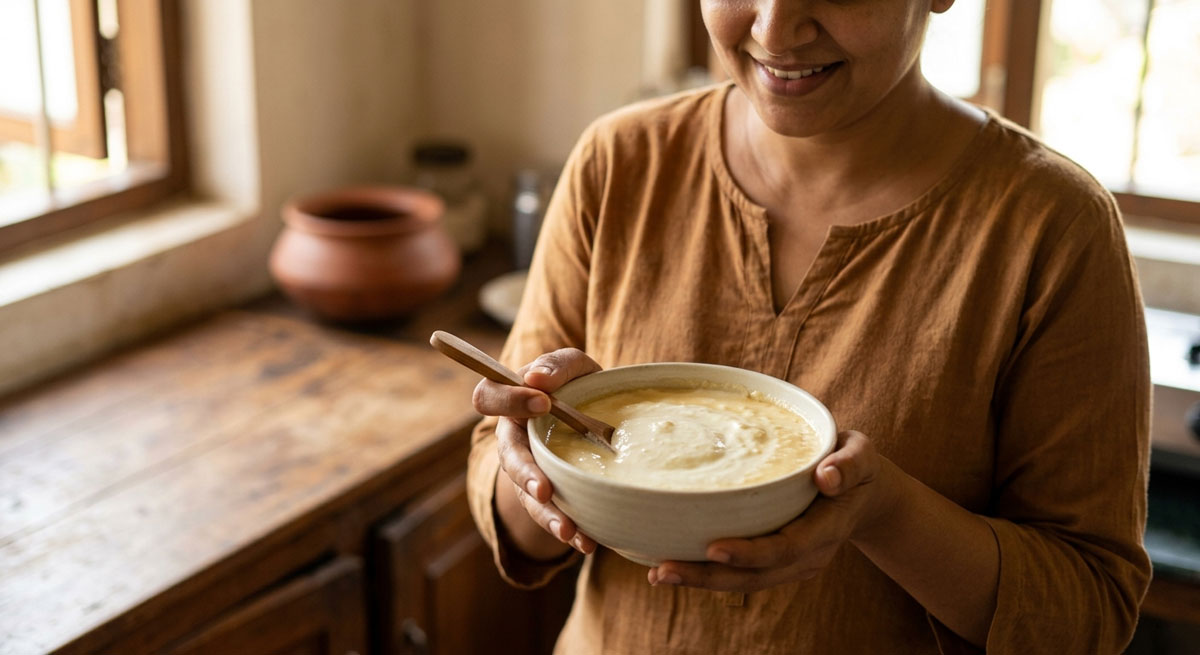
2. Grind into a Fluffy Paste: The goal is a thick, airy paste using minimal water. In a food processor or high-speed blender, grind the drained dal in batches. Add water just 1 teaspoon at a time only if needed to get the blades moving. Scrape down the sides frequently until you have a smooth, fluffy, and thick paste.
3. Season and Rest: Transfer the paste to a mixing bowl. Gently fold in the salt, minced green chilies, and baking soda. The batter should be thick enough to hold its shape. If it seems too runny, stir in the optional flour, one tablespoon at a time. Cover the bowl and let it rest in a warm spot for 4 hours to ferment slightly.
4. Shape the Badis: Lightly grease a few baking sheets or large steel plates. Using your fingertips or two small spoons, drop scant teaspoon-sized dollops of the batter onto the prepared trays, leaving a small gap between each one.
5. Dry the Badis: The badis must be dried until completely hard and brittle. For traditional sun-drying, place the trays in direct sunlight for 2-4 days, covering them with a net to protect from dust. Bring them indoors at night and flip them after the first day. Alternatively, use an oven at its lowest setting (150-170°F / 65-75°C) with the door ajar for 6-10 hours, or a dehydrator for 8-12 hours.
6. Store and Use: Test for doneness by breaking a badi in half; it should snap cleanly. Store the completely dry badis in an airtight container at room temperature for several months. To use, pan-fry them in a little oil until golden, then add to curries, soups, or rice dishes to simmer and soften.
Nutritional Information
• Serving Size: 10 badis
• Calories: 210 kcal
• Protein: 13g
• Carbohydrates: 35g
• Fat: 2g
• Fiber: 5g
• (Estimates are approximate and based on the listed.)
Pro Tips
• The Float Test: To check if your batter is airy enough, drop a small dollop into a bowl of water. If it floats, it’s ready! If it sinks, whip it for a few more minutes to incorporate more air.
• Customize Your Spice: Feel free to add other spices to the batter. A pinch of asafoetida (hing), ½ teaspoon of crushed coriander seeds, or a teaspoon of grated ginger all add wonderful depth.
• Patience is Key: Ensure the badis are bone-dry before storing. Any residual moisture can lead to mold. They should snap cleanly when broken; if they bend, they need more drying time.
• Fry Before Use: For the best flavor and texture, always pan-fry the dried badis in a little ghee or oil until golden brown and fragrant before adding them to your main dish.
FAQ
Q: Are Moong Dal Badi a good source of vegetarian protein
A: Yes, absolutely! Moong dal is naturally rich in plant-based protein. These badis concentrate that goodness, making them an excellent way to add a substantial protein boost and a satisfying, hearty texture to your vegetarian curries, soups, and rice dishes.
Q: Can I make this Moong Dal Badi recipe gluten-free
A: This recipe is naturally gluten-free. The main ingredient, moong dal, contains no gluten. If your batter is too thin and you need to add flour, be sure to use the recommended moong bean flour or another gluten-free flour instead of all-purpose wheat flour to keep the badis completely gluten-free.
Q: How do I store homemade badi to keep them fresh for my vegetarian pantry
A: Proper drying is the secret to long-term storage. Ensure your badis are completely brittle and snap cleanly. Once they are bone-dry and fully cooled, store them in a clean, airtight container in a cool, dark place. Stored correctly, they will last for several months, making them a perfect make-ahead vegetarian pantry staple.
Q: Is this Moong Dal Badi recipe vegan
A: Yes, this recipe is 100% vegan as written. It uses only plant-based ingredients like lentils, spices, and oil. They are a fantastic way to add texture and flavor to a wide variety of vegan Indian dishes.