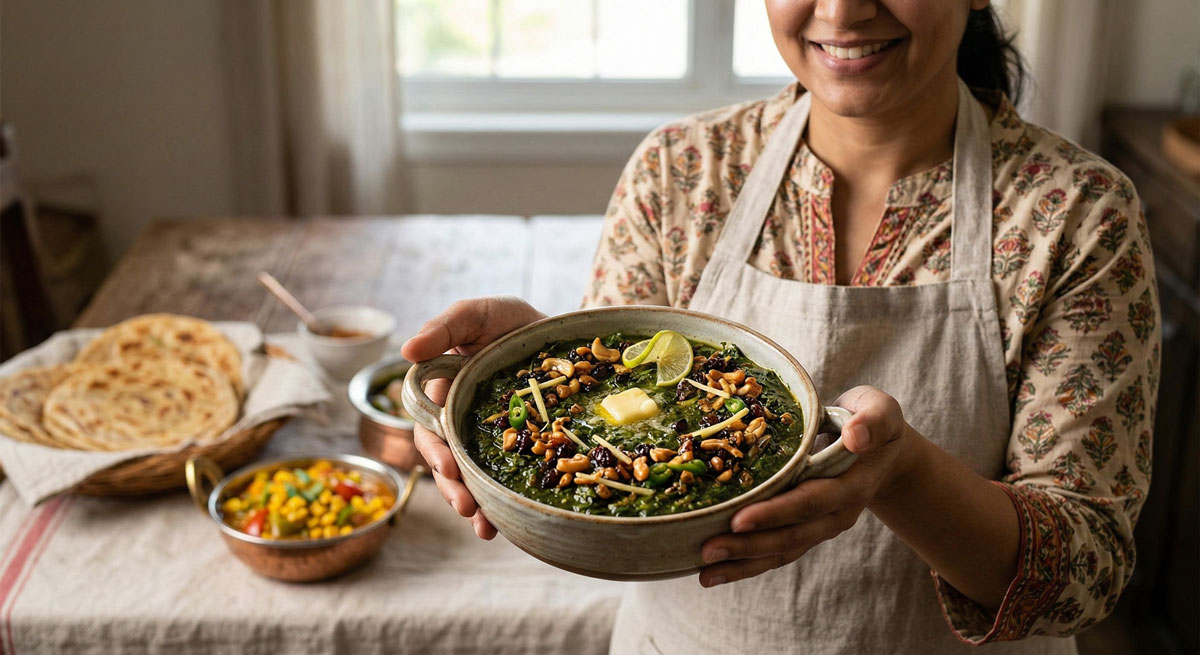
Let’s journey beyond the standard restaurant menu and into the heart of a South Indian kitchen. If you’ve never tried Moong Dal Badi with Green Beans, you are in for an incredible treat! This isn’t your typical curry; it’s a beautiful, home-style Madrasi dish that showcases how simple ingredients can create extraordinary flavor. The magic lies in the ‘badis’—sun-dried, seasoned lentil nuggets that are fried until golden and crisp. They add a wonderful, savory crunch and nutty depth that perfectly complements the fresh, tender green beans. It’s a quick, wholesome, and truly authentic taste of South India that will become a new favorite.
Ingredients
• 0.75 cup / 65 g dried moong dal badis
• 4 tbsp / 60 g ghee or unsalted butter
• 16 oz / 455 g green beans, trimmed and cut into 0.25-inch pieces
• 0.5 tsp turmeric powder
• 0.125 tsp freshly ground black pepper
• 1 tsp salt
• 2 tbsp minced fresh parsley or coarsely chopped coriander, divided
• 0.75 cup / 180 g water
• 1 tsp crushed dry-roasted cumin seeds
• 1 tbsp fresh lemon juice
Instructions
1. Prep the Badis: If your moong dal badis are larger than a pea, gently crack them into smaller, pea-sized pieces using a mortar and pestle or the back of a heavy spoon. This ensures they cook evenly and distribute perfectly throughout the dish.
2. Fry the Badis: In a heavy saucepan, melt the ghee or butter over moderate heat. Add the prepared badis and stir-fry continuously until they turn a beautiful reddish-brown and smell nutty and fragrant.
3. Add Vegetables and Spices: Immediately add the chopped green beans, turmeric, pepper, salt, and 1 tablespoon of the fresh herbs to the pan. Pour in the water and give everything a good stir to combine.
4. Simmer Gently: Bring the mixture to a simmer, then reduce the heat to low. Cover the pan and let it cook for 8 to 10 minutes, or until the green beans are tender but still have a slight bite.
5. Reduce and Finish: Uncover the pan, sprinkle in the crushed cumin, and turn the heat up to medium-high. Cook, shaking the pan frequently, until all the excess liquid has evaporated. This concentrates the flavors onto the beans and badis.
6. Serve: Remove the pan from the heat. Just before serving, stir in the remaining 1 tablespoon of fresh herbs and the bright lemon juice to finish the dish.
Nutritional Information
• (per serving, approximate)
• Calories: 210 kcal
• Protein: 6 g
• Carbohydrates: 15 g
• Fat: 15 g
Pro Tips
• Watch the badis carefully as you fry them; they can go from perfectly golden to burnt very quickly. Constant stirring is key.
• For the best texture, aim for tender-crisp green beans, not mushy. Start checking for doneness after about 7 minutes of simmering.
• The final step of boiling off the remaining liquid is crucial. It prevents a watery dish and ensures the spices cling beautifully to the beans.
• Don’t have badis? You can achieve a similar crunchy texture by pan-frying some chana dal (split chickpeas) until golden before adding the other .
FAQ
Q: Can I make this Moong Dal Badi recipe vegan
A: Absolutely! To make this dish fully vegan, simply replace the ghee or unsalted butter with a high-heat plant-based oil like coconut oil or avocado oil. The rest of the ingredients are naturally plant-based, ensuring a delicious vegan meal.
Q: Is this green bean and badi dish a good source of protein
A: Yes, this dish is a great source of plant-based protein for a vegetarian diet. The moong dal badis are made from protein-rich lentils, which contribute to the 6 grams of protein per serving, making it a satisfying and nutritious component of any meal.
Q: What can I use if I can’t find moong dal badis
A: If you can’t find moong dal badis, you can achieve a similar savory crunch by pan-frying 1/4 cup of chana dal (split chickpeas) in the ghee or oil until they are golden brown and crisp before proceeding with the recipe.
Q: How should I store leftovers of this dish
A: Store any leftovers in an airtight container in the refrigerator for up to 3 days. Keep in mind the badis will soften over time. For best results, reheat gently in a pan on the stovetop to help revive some of their texture.